
Saliva sample: this is how it works
For the lactose intolerance test we need a saliva sample, which is then analyzed in the laboratory. Don’t worry: with the enclosed instructions for use, this is quite simple without any prior medical knowledge!
Video tutorial (in German)
To help you visualize the process, we’ve also put together a video tutorial for you here:
Step by step instructions
The most important steps from the supplied instructions are summarized again here.
IMPORTANT: In order to be able to guarantee a valid test evaluation, please make sure to follow the individual steps of the instructions for use supplied in the test kit exactly!
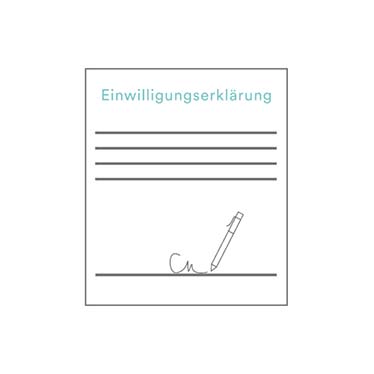
Step 1
Sign the consent form.
Important: Only if you have signed the consent form, we are allowed to perform the genetic testing and evaluate your sample.

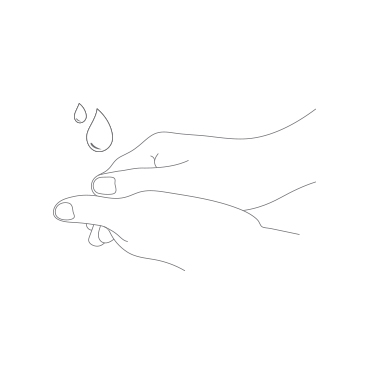
Step 2
Rinse your mouth thoroughly with water.
Step 3
Afterwards, you should not eat, drink, smoke or brush your teeth for 15 minutes before the sample is taken.

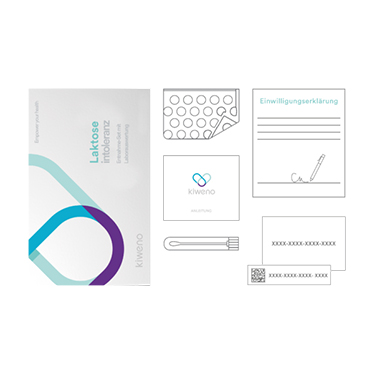
Step 4
Place all the utensils included in the collection set in front of you and unpack the sample tube from the blister.
Important: Do not unscrew the test tube with the swab until immediately before taking the sample.
Step 5
To avoid contamination of the sample, please wash and dry your hands thoroughly.
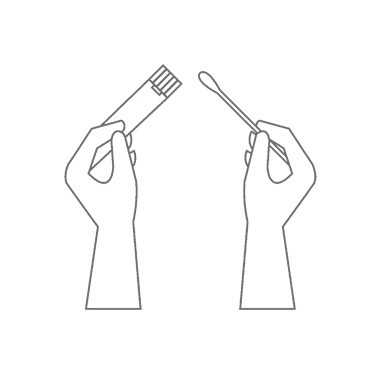
Step 6
Now pull the swab out of the test tube.
Important: Do not touch the cotton swab with your fingers to avoid contamination.
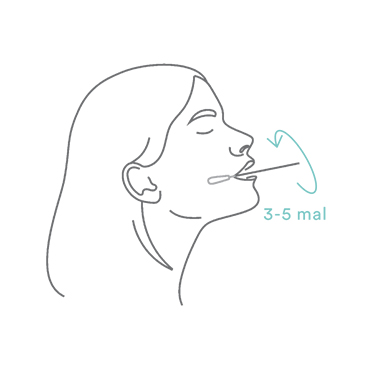
Step 7
Rub and rotate the head of the swab on the inside of each cheek (left/right) with strong pressure at least 3-5 times. The cotton swab should be evenly wetted with saliva from all sides. Immediately transfer the swab into the test tube and close it.
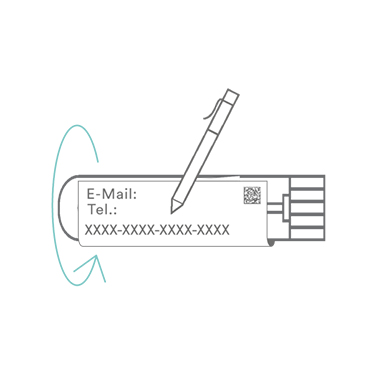
Step 8
Now fill in all the fields on the code sticker. Please write your e-mail address legibly so that we can send you your report. Stick the sticker on the tube with the swab.
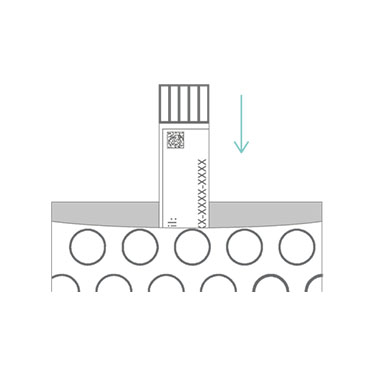
Step 9
Place the test tube with the swab in the bubble bag and seal it.
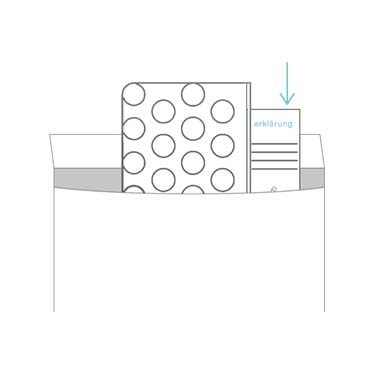
Step 10
Place the bubble bag containing the test tube and the signed consent form in the prepaid return envelope.
Step 11
Place the return envelope on a flat surface, peel off the adhesive strip & close it carefully without wrinkles. Label the envelope and take it to the nearest post office immediately.


Step 12
After receipt of the sample in our laboratory you will receive a confirmation via SMS.
You will receive the report with your result after 5-10 working days by e-mail.
Done!
It wasn’t that hard, was it? 😉
We wish you much joy with your result and much success on your personal way to more well-being!
Any more questions?

Mehr über Kiweno erfahren
-
How it works
You are not quite sure how the kiweno tests work? Here you will find everything important about the test procedure and instructions!